The Apprentice Project
For the game page, go here.
General
After having started almost 9 years ago in Excel, porting this to PHP, porting that once again to Director in Lingo, and finally porting everything to Unity in C# this game has come a long way! A more detailed recap can be found here.The Apprentice remade for PC is the project of just me whose idea of a challenge is programming everything from scratch. No black boxes, no bug-free engines, no such thing of any kind. Stupid? Perhaps.. but it got me knowledge beyond what I thought I needed to make a game! Knowledge that should enable me to make another one if I ever finish this one.
Copyright issue
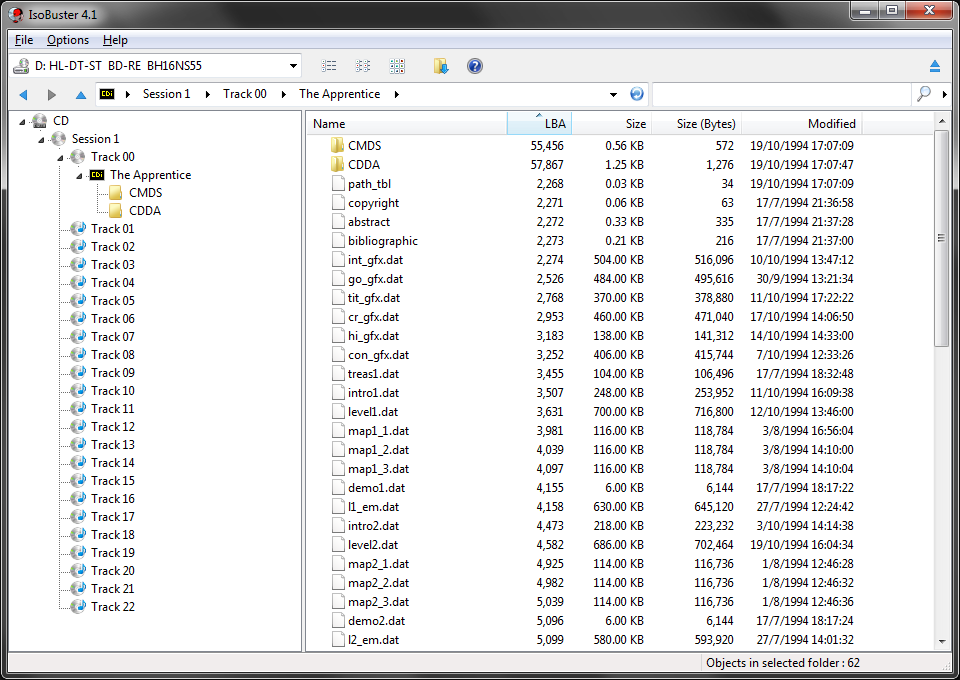
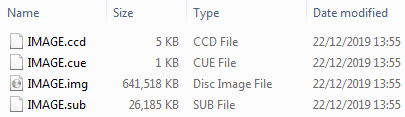
My version of The Apprentice requires an ISO of the original CD-i disc to run. It is needed because all the sprites, backgrounds, music, sound effects, and level layouts are stored there. None of them are aboard the game itself because that would be a copyright infringement. It is my way of trying to protect myself against those who hold the rights to the Apprentice.
Every asset I extract from the IMG file is kept in memory and so nothing is actually stored on the hard drive.
Downloads
Get the latest versionInstallation
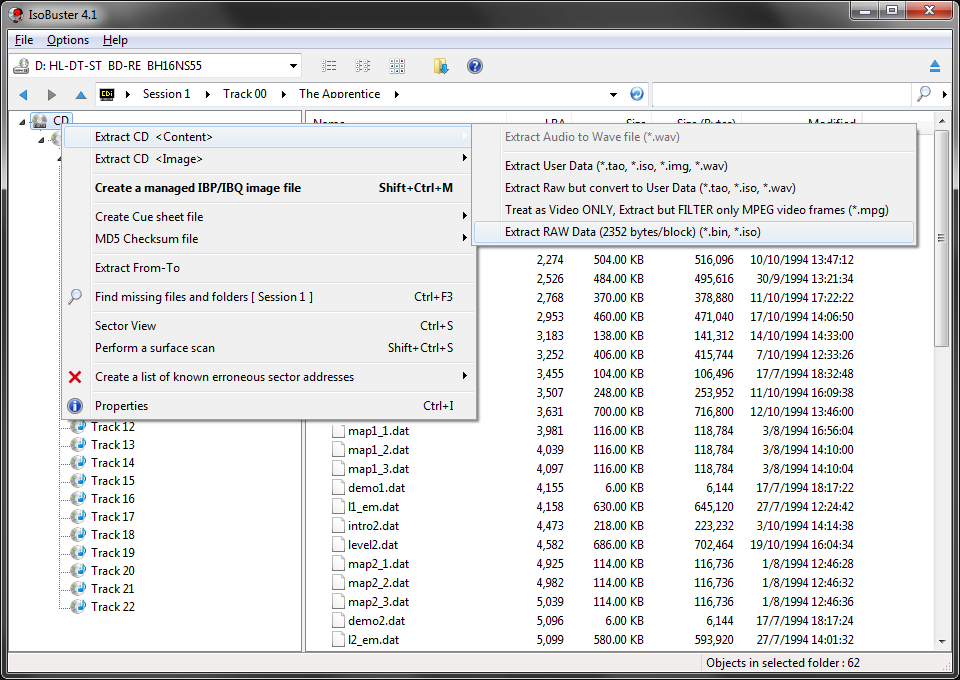
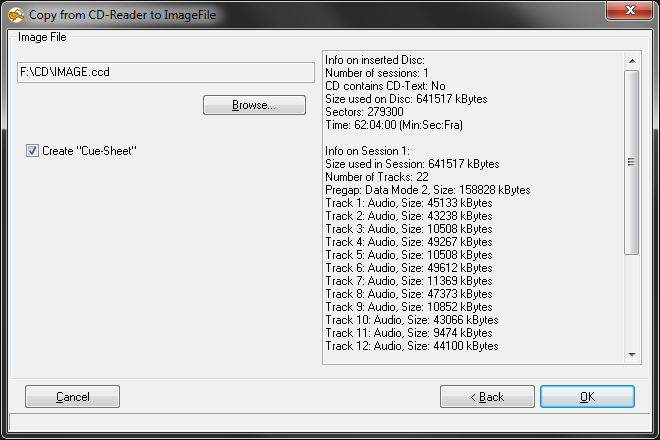
To get the game running you'll need the game files from this site and an IMG/ISO file of the CD-i disc of The Apprentice.ISObuster, CloneCD, and similar software should be able to create one of these.
The image file must be placed in the same folder as the game for it to be recognized.
As of version v11.3d it is no longer important what the file is name or what the extension is: it is now recognized by its size.


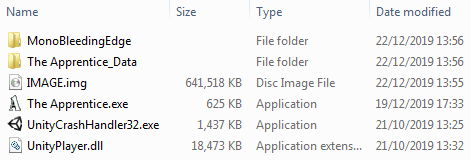
Now just run "The Apprentice.exe" and you're all set to go!
Controls
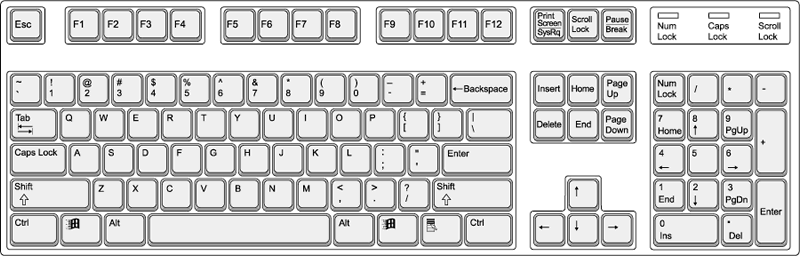
The controls are fairly simple; the CD-i controllers had two or three buttons and a D-pad or thumb stick. And I'm keeping to that scheme, just translated to a keyboard.The default controls are highlighted in blue. For full-screen use Alt-Enter as highlighted in red.
Re-assigning keys
Using the supplied "settings.ini" file it is possible to reassign the default keys. Only the righthand values (after the '=') should be changed.
For valid key values see "Unity Keys.txt". Any invalid values and keys are ignored. Deleting the ini file reverts the controls to the built-in default.
It is possible to re-assign them mid-game by pausing the game (ButtonThree), changing the ini file and continuing the game:
- Pause
- Change ini file
- Continue
You now have your new key assignments active!
Changelog
v11.3d - December 23
- Added support for the disc file to be named anything, including the file extension (as long as it is > 100MB).
- Added support for the disc file to have an offset up to 100kB
- Added support for the disc file to be incomplete (no CDA files). Downside is that the background music is unavailable.
- Added support for the disc file to be scrambled
- Added support for re-assigning keys via ini file
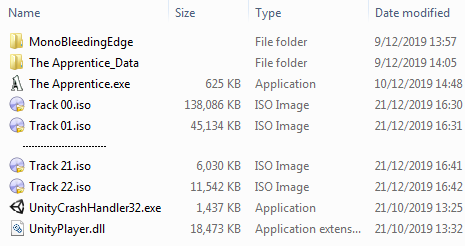
- Added support for the disc file to be split into "Track 00", "Track 01" .. "Track 22" files
v11.3c - December 19
- Initial public release